Guild member, Peggy Glassgow, has a method of hand applique that works well and is easy to do. It is not the only method of hand applique, but this method was given to our applique group, Turning Points, several years ago by a member who has now passed away. I have used it multiple times and enjoy these simple steps.
1. Trace your pattern onto the back of your fabric using your preferred method. Be sure you can see it plainly as you will not be able to see markings after you have done the applique.)
2. Cut a piece of fabric big enough to cover the section you are working on. I find it helpful to use fabric on the bias when you are doing leaves or pieces that have a slight outer curve as this will allow you to curve the fabric more easily without clipping.
3. Place fabric on the right side of the block with the right side of fabric showing and baste around the pattern section. I recommend using a contrasting thread that will be easily seen.
4. After basting, turn the fabric to the right side and lightly trace over your basting line of stitches.
5. Trim your fabric about 1/8 to 1/4 around your basting stitches.
6. Begin your needle turn applique by removing a few basting stitches and turning under on the traced line.
7. Continue to repeat this process until all your pattern is appliqued.
Web site by Kay McKenzie (allaboutapplique.net) is a good resource to use. She has a great demonstration on back basting plus lots of other information on applique.
There is also a very good website for Hawaiian Quilting. It is the Pacific Rim Quilt Company, (prqc.com)
Enjoy!
Peggy
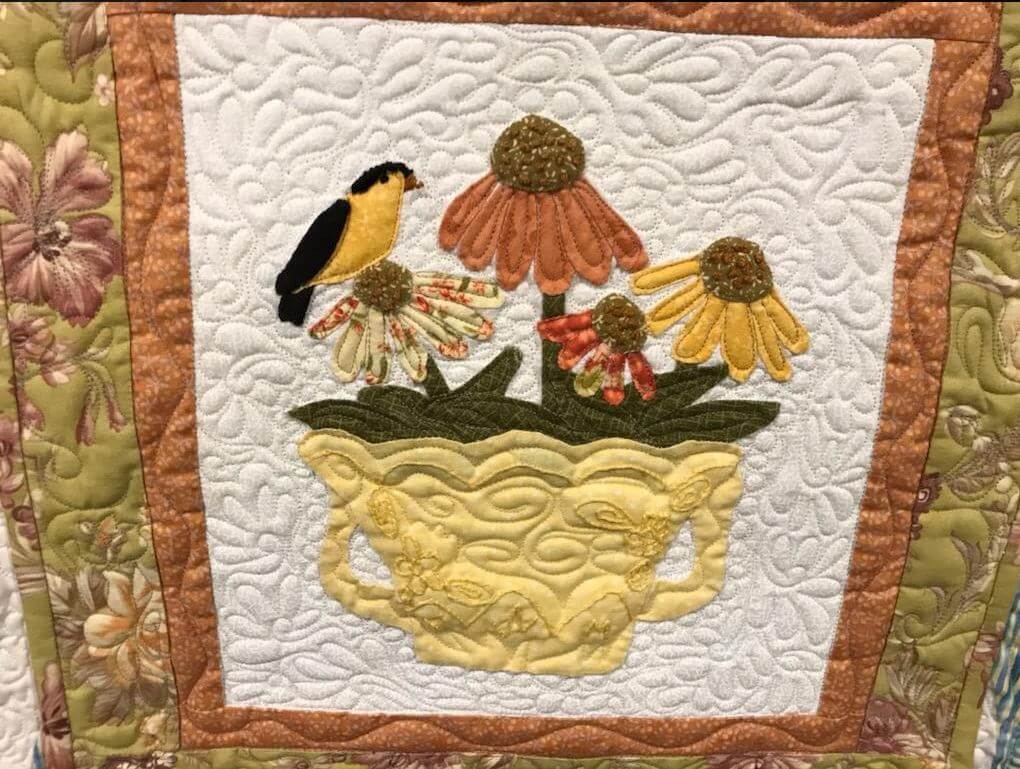
Examples of two of Peggy’s projects using this technique are shown below.